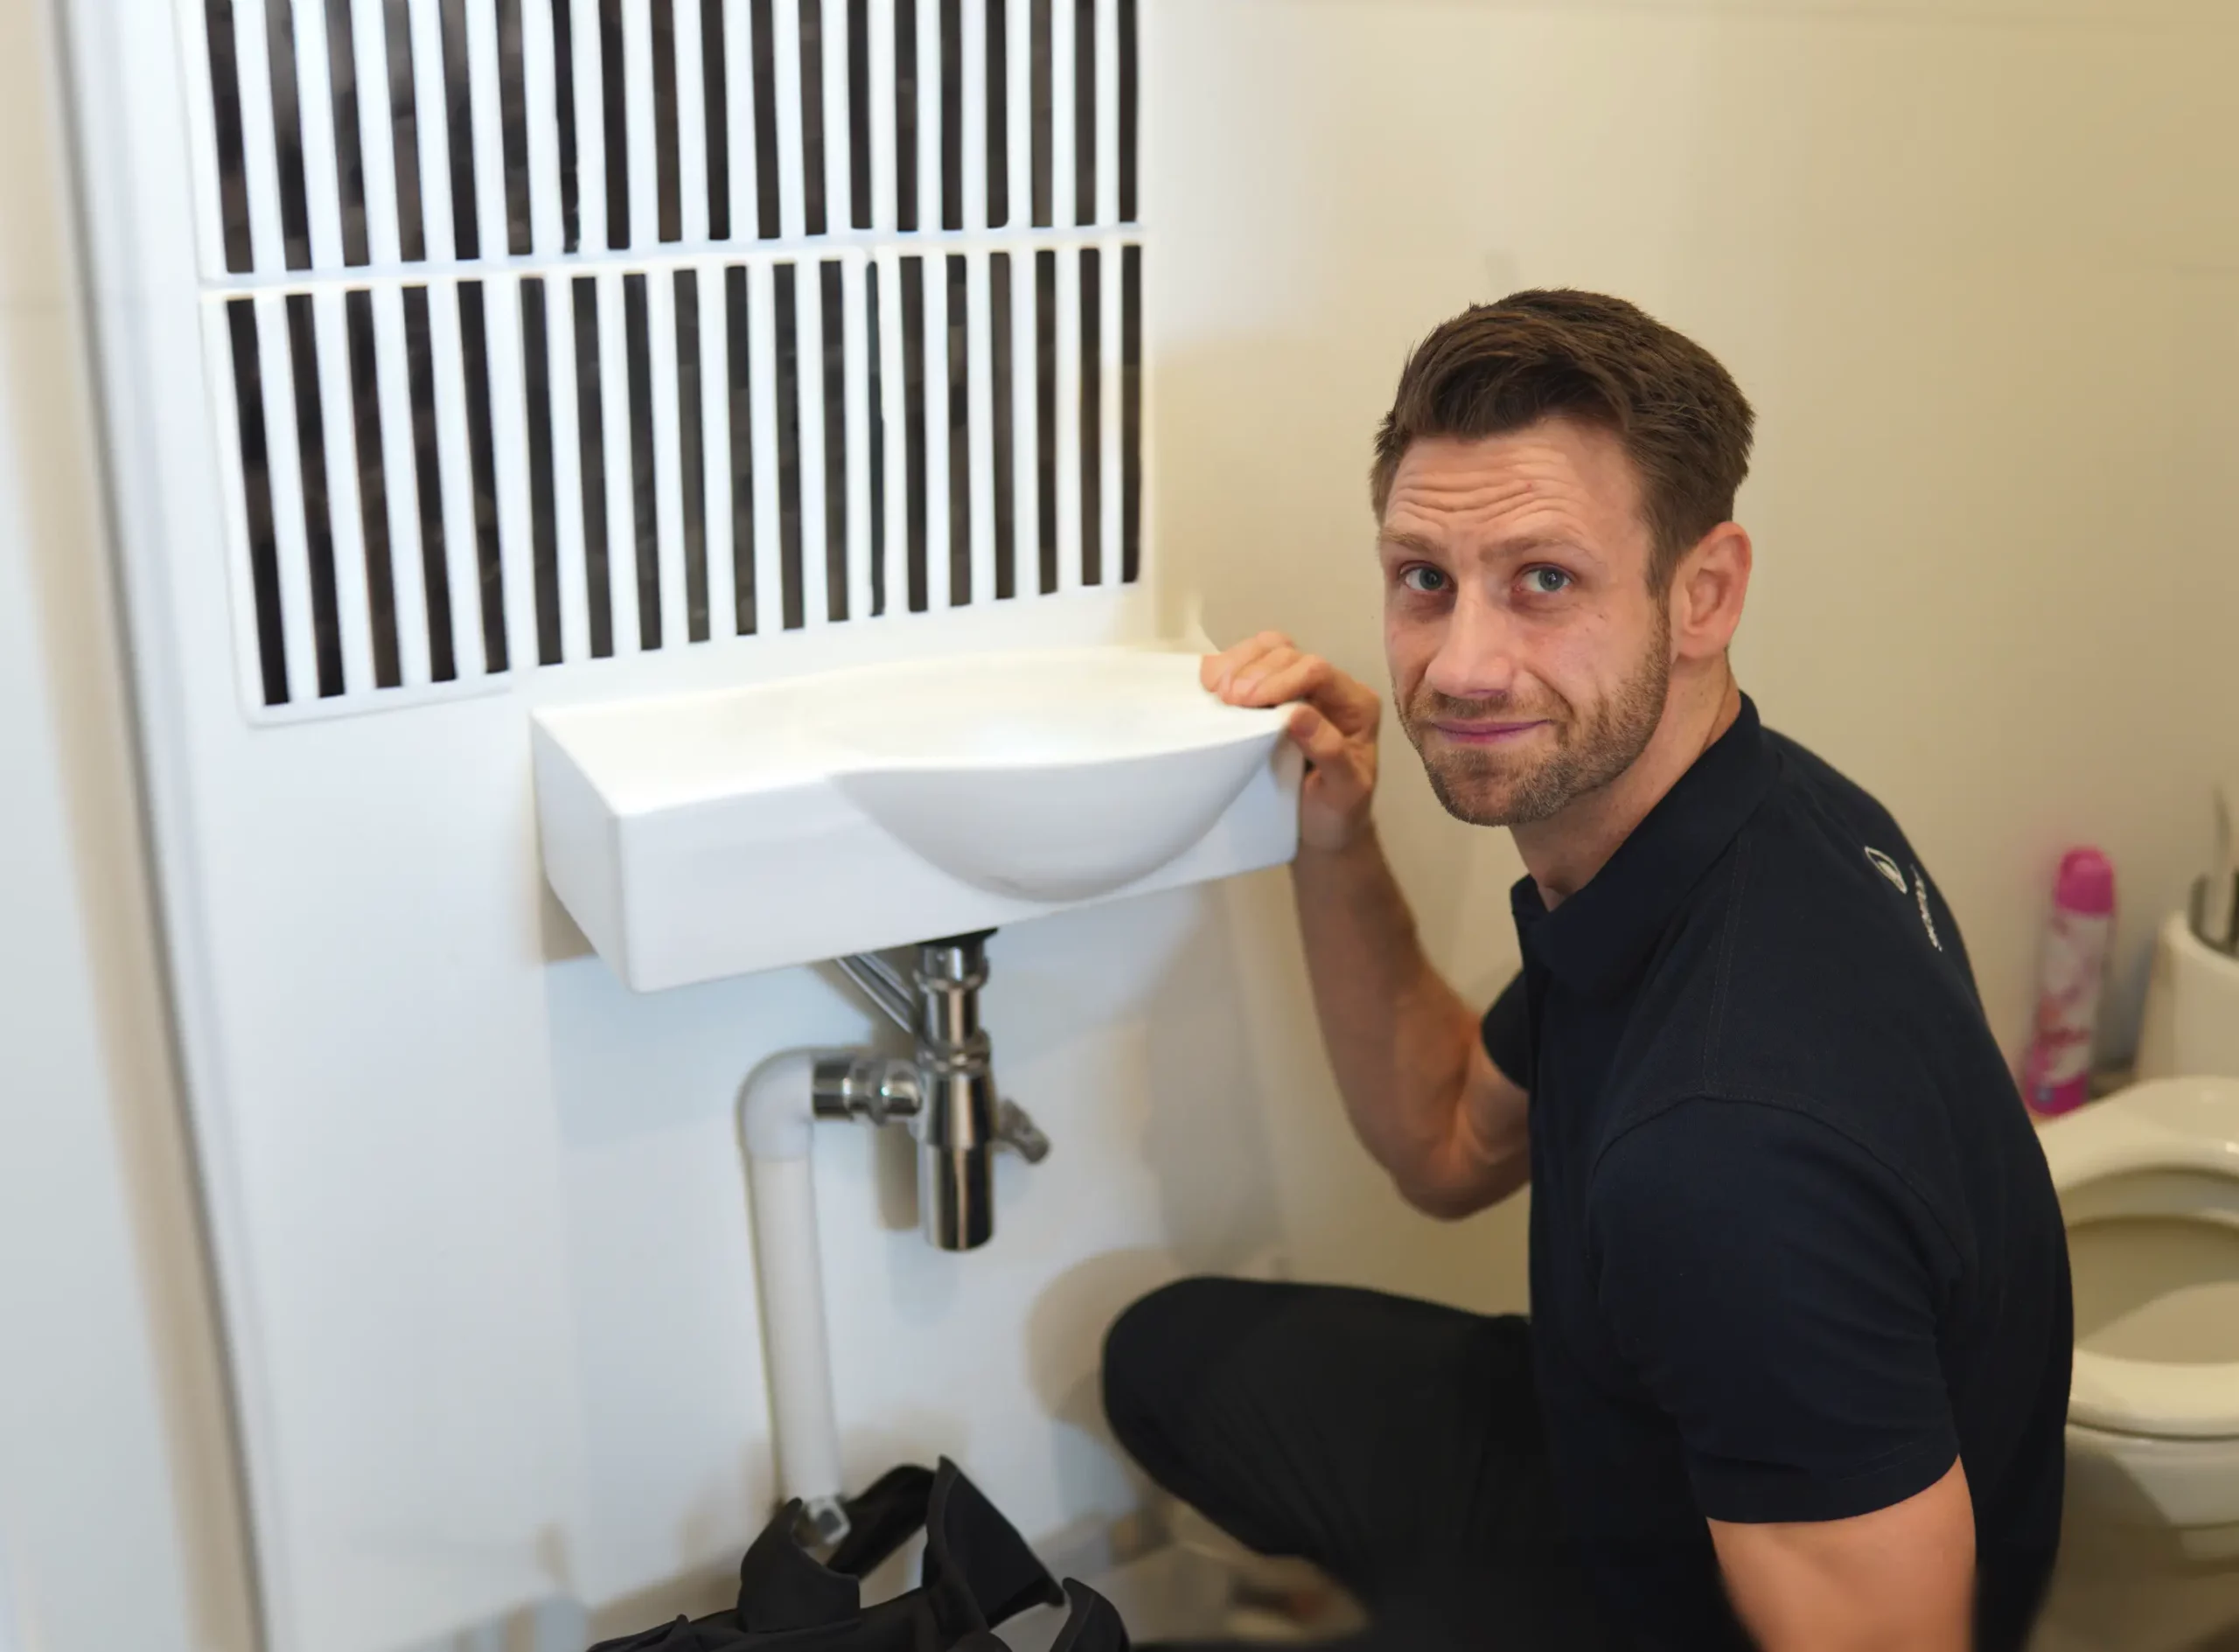
No problem is too big for Homecure. Our plumbing services in London are available for emergency callouts and planned visits, keeping your plumbing system in perfect working order.
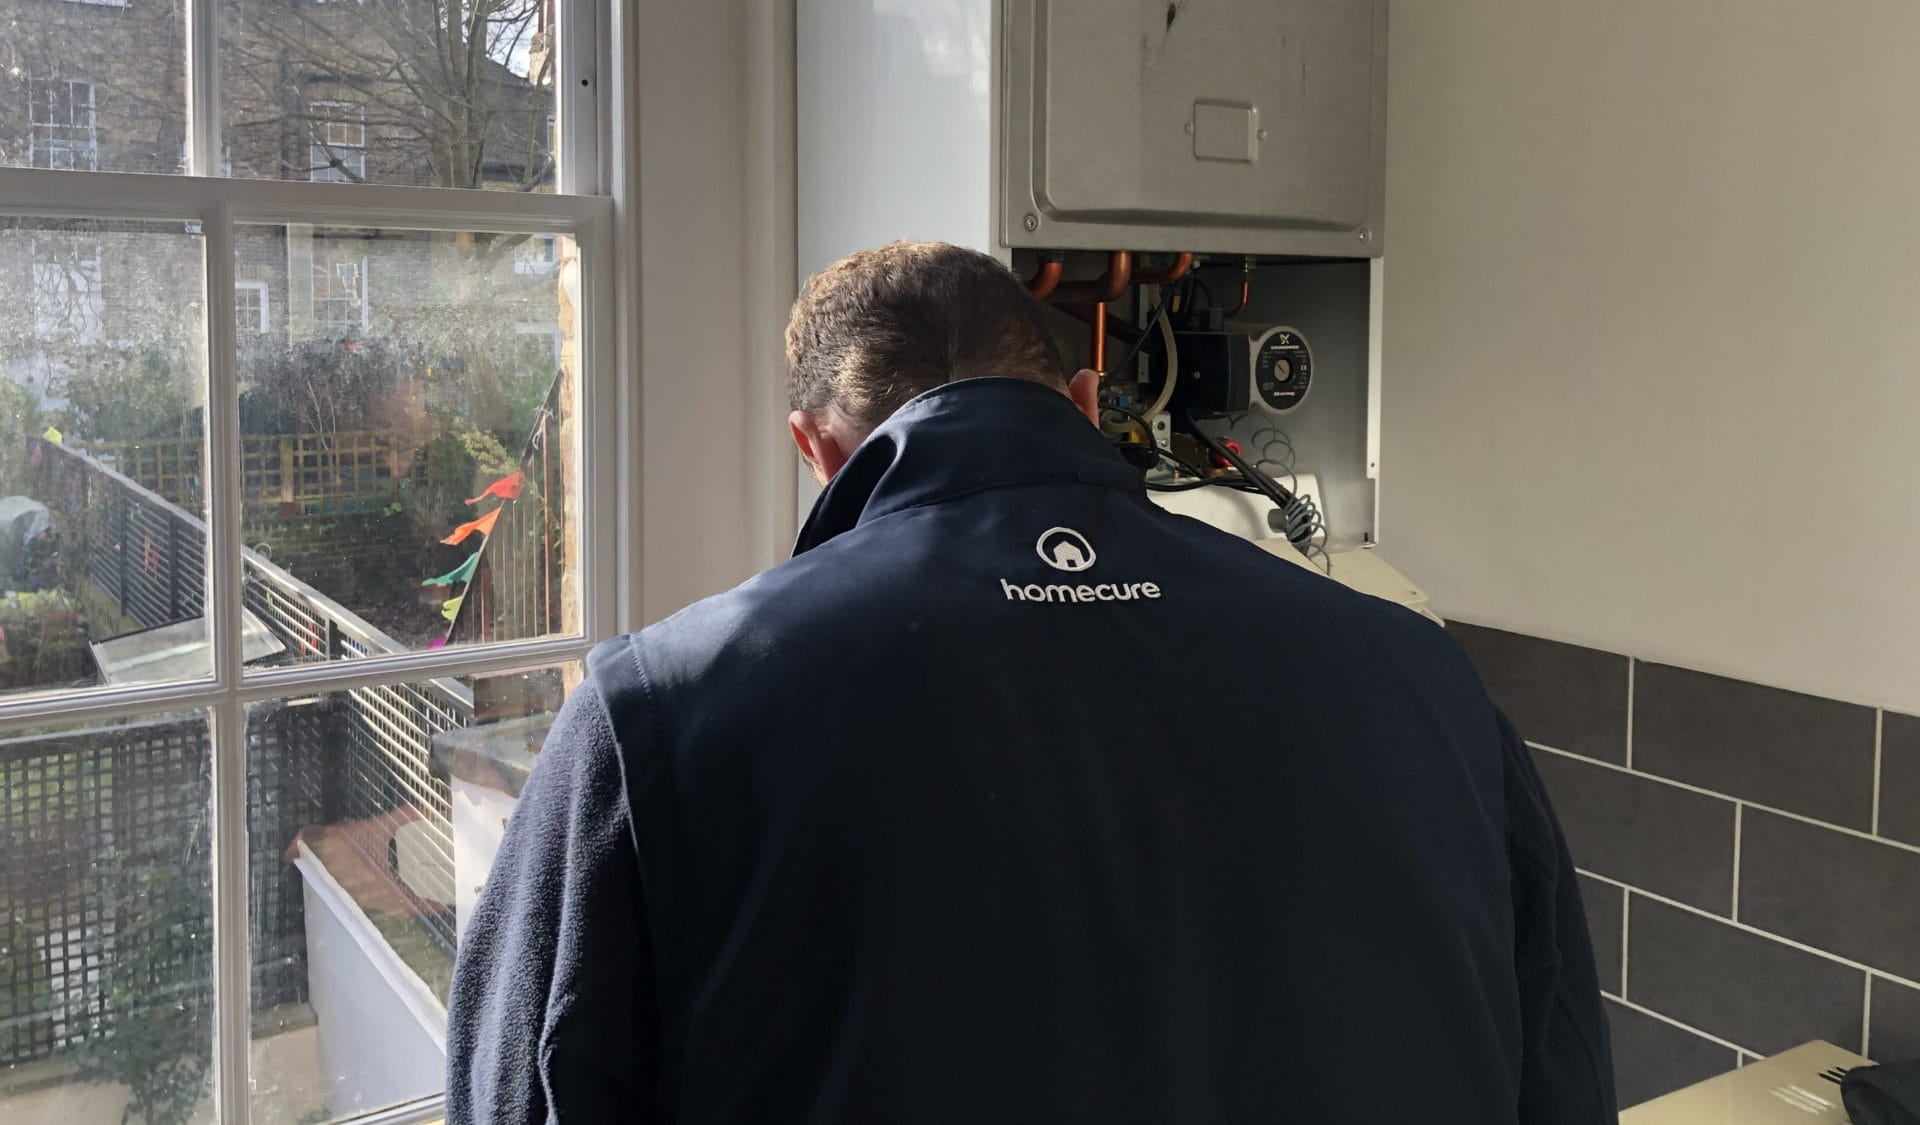
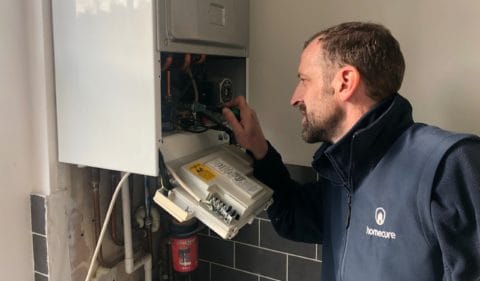
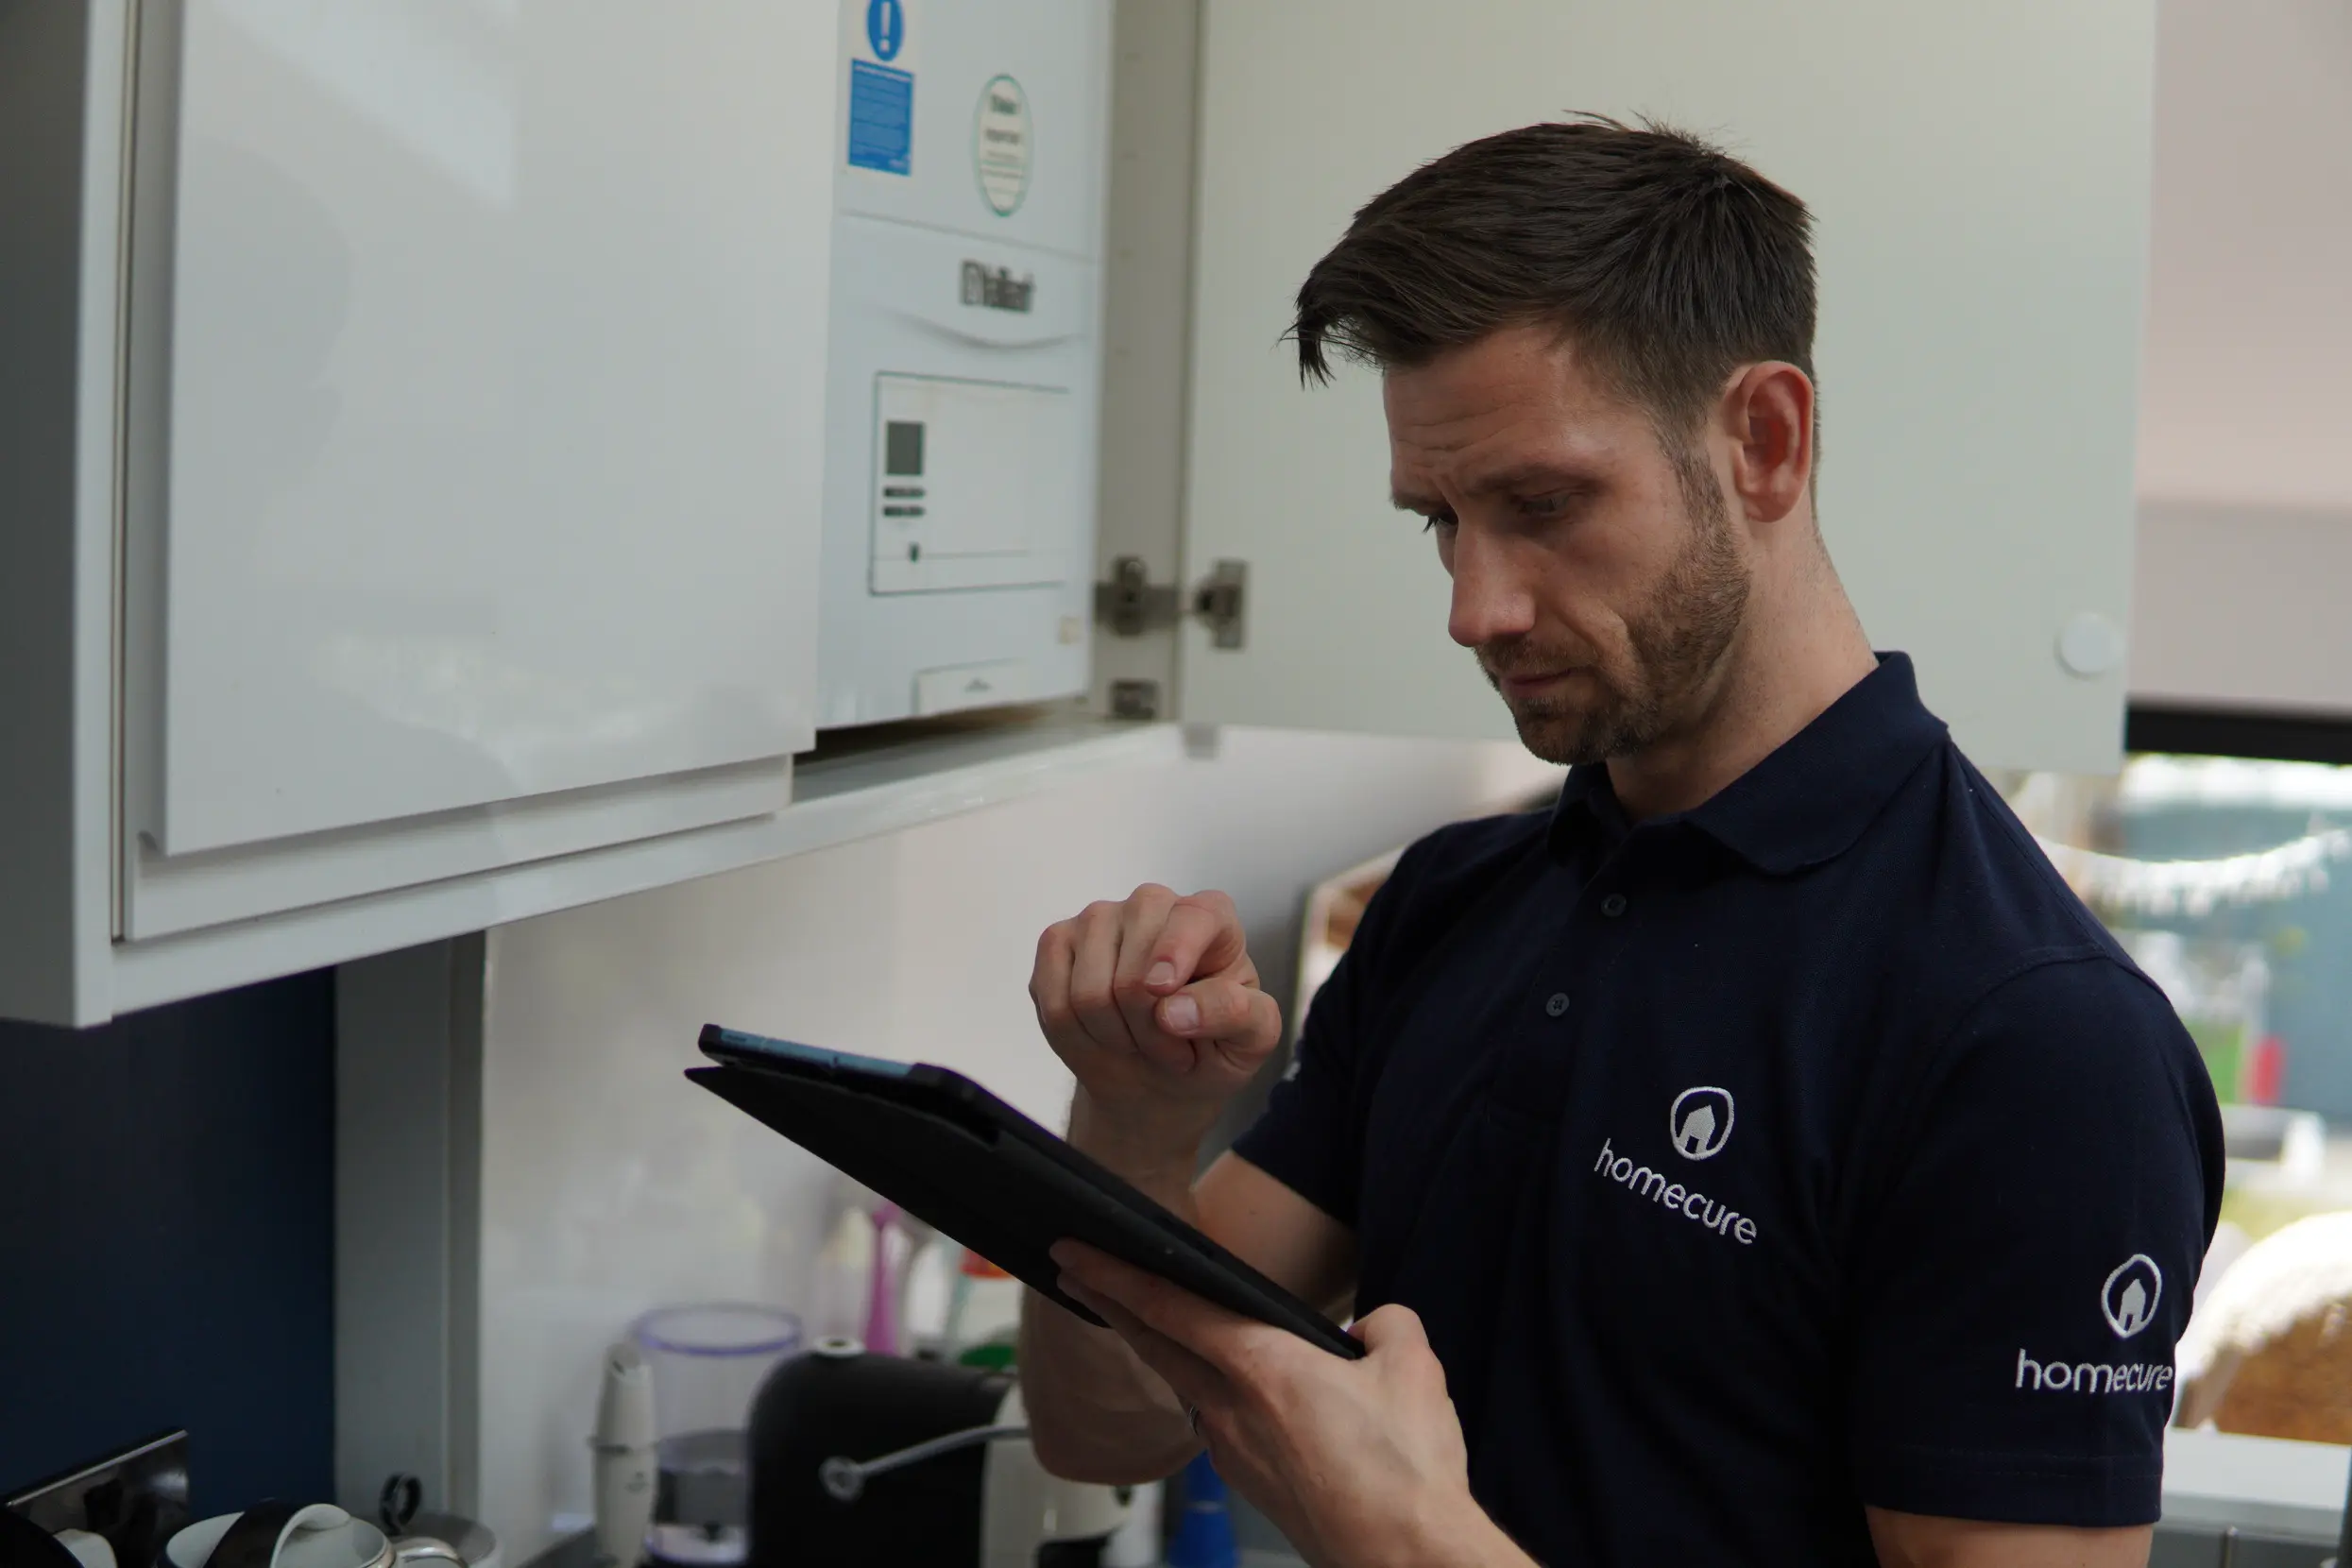
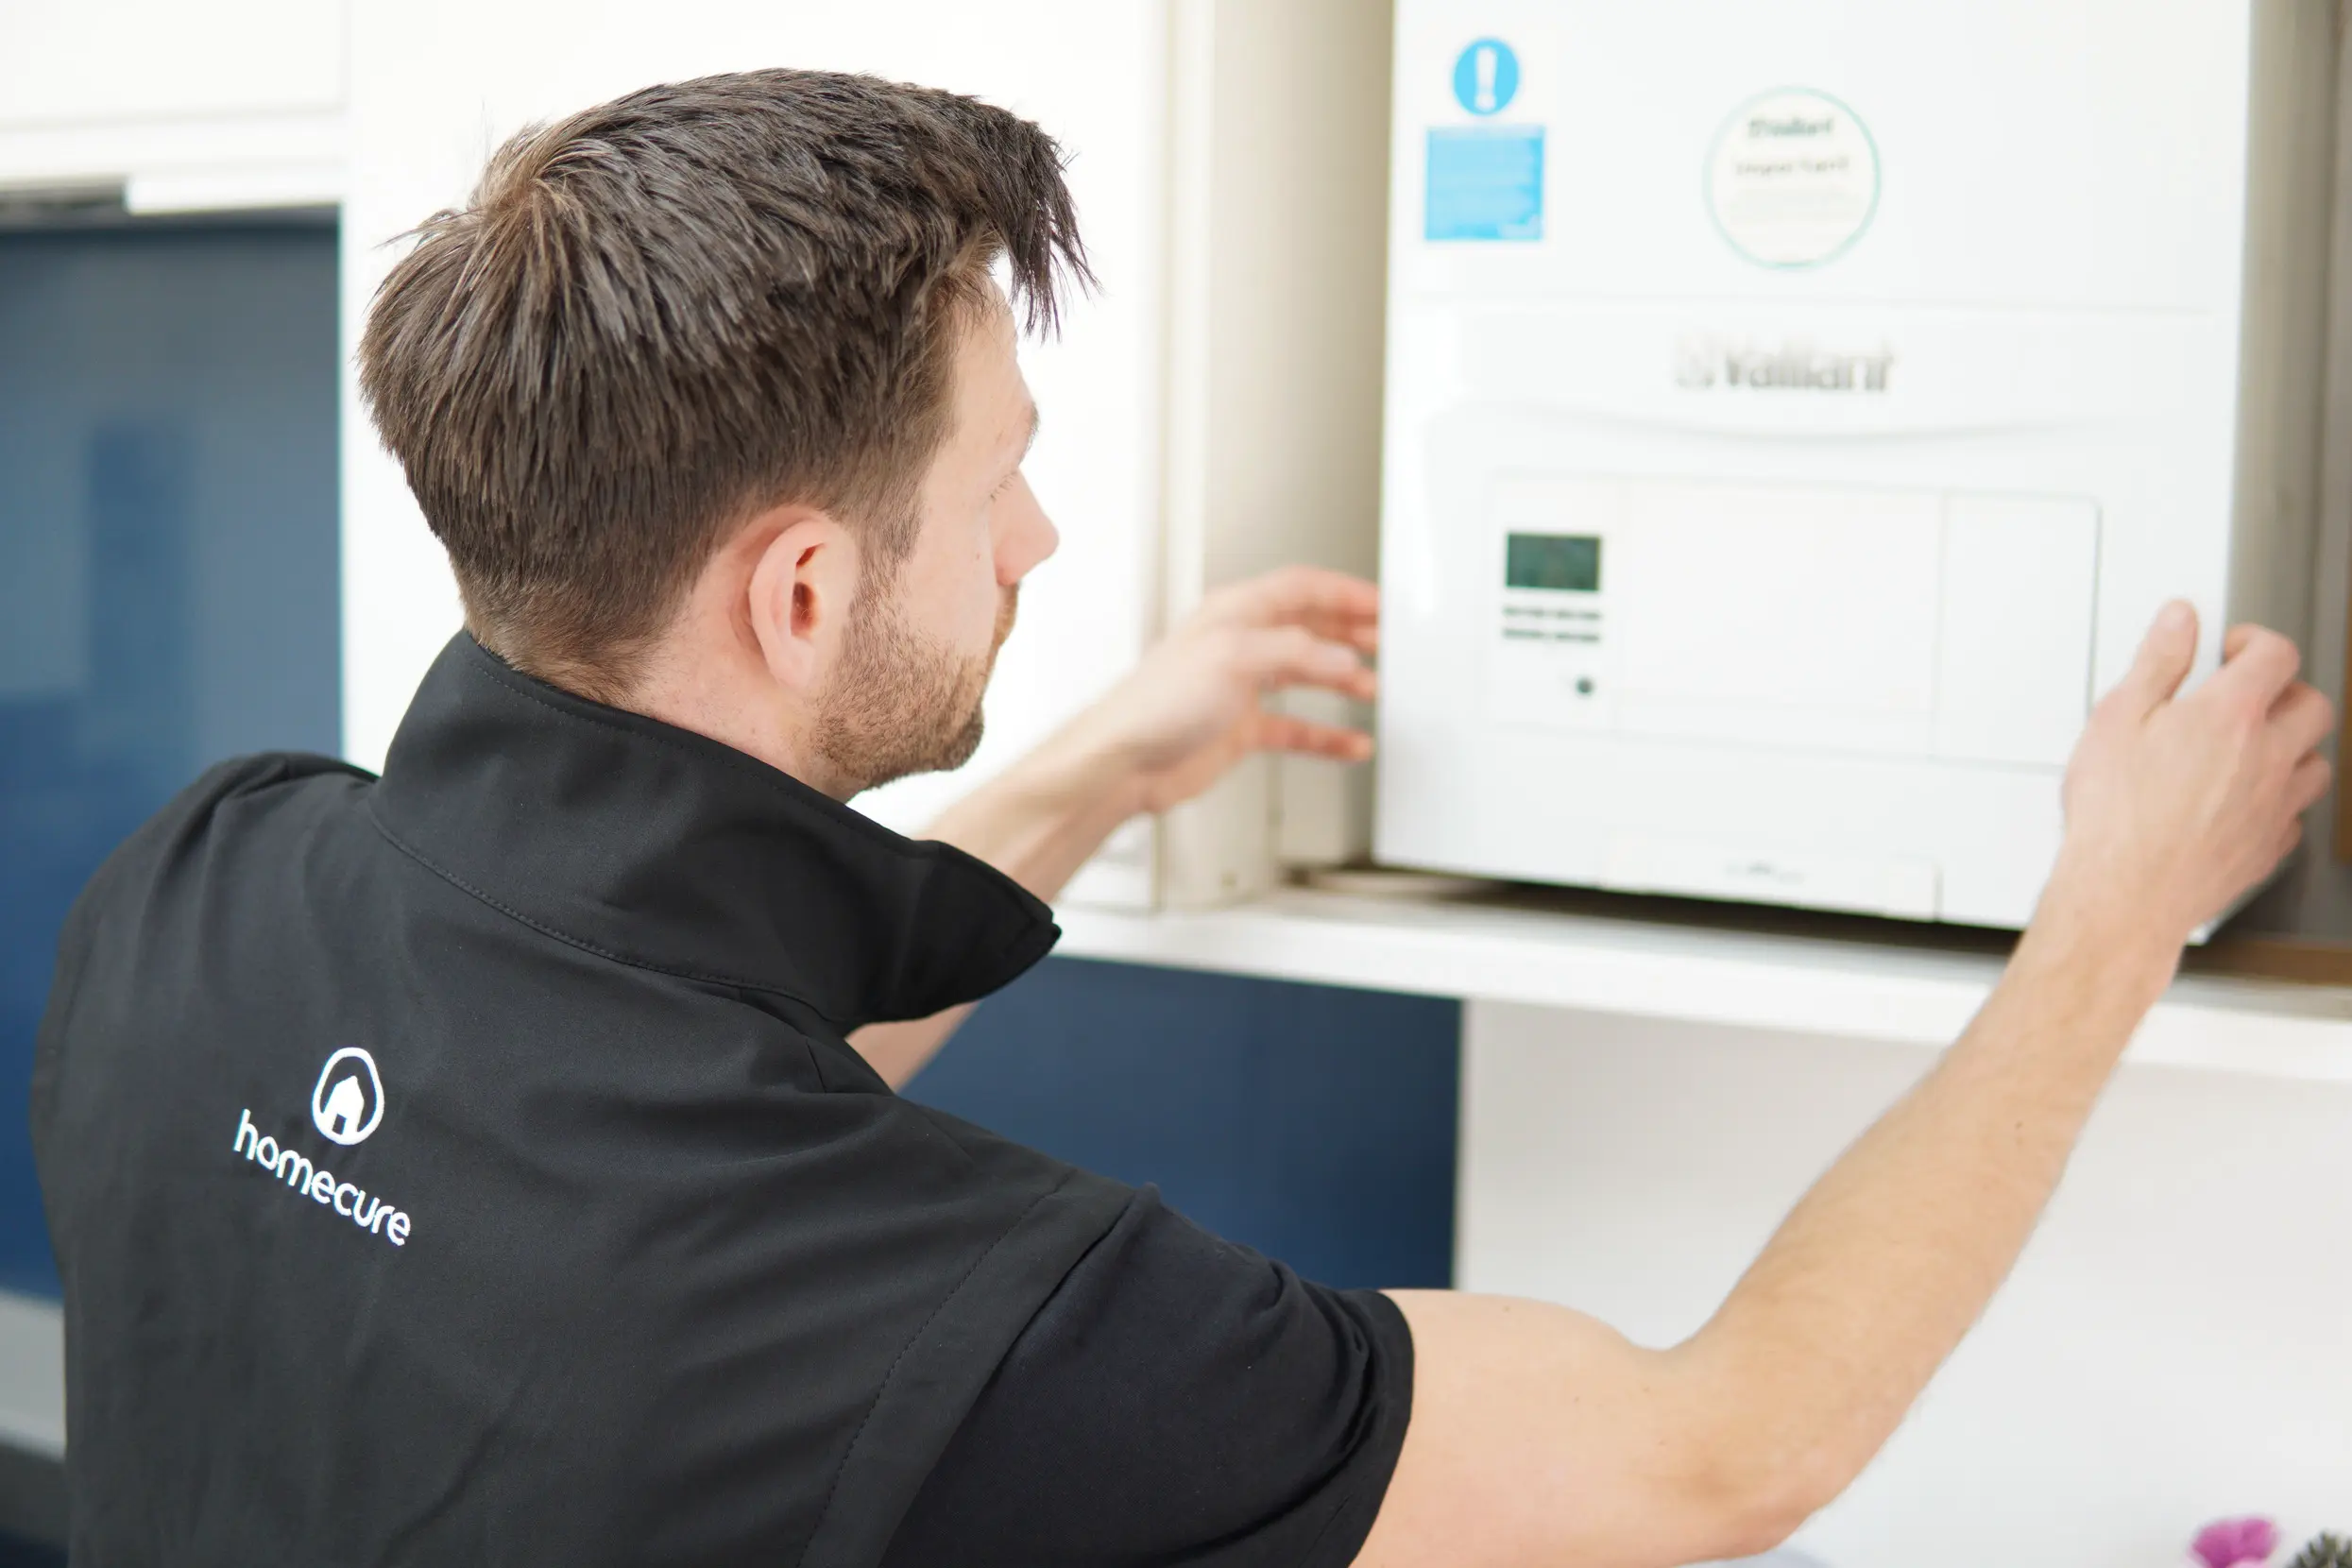
Our Gas Safe engineers are available to deal with any boiler-related issue. You can hire our boiler services in London 24/7, 365 days a year and we’ll be there within the hour.
Homecure’s Gas Safe engineers will ensure you stay warm right throughout the year. Our heating services in London are affordable, efficient and always customer-focused.
We are passionate about what we do and pride ourselves on being able to offer a superior level of customer service, all while getting the best results possible for affordable prices.
Pipes Making Noise When Water Is Turned On: 5 Common Causes and Solutions
Noisy pipes are a common occurrence, especially in older homes. While strange noises coming from your plumbing system can be irksome, they can also be worrying. Nobody wants to experience plumbing problems, the prospect of which conjures up thoughts of all sorts of nightmare scenarios, from emergency leaks to expensive replacements.
Fortunately, noisy pipes are not often cause for concern if dealt with properly. The issue usually lies with simple issues that you can either handle yourself, or that can be dealt with through a routine call-out. Take the advice of an expert Plumber in London and follow the Homecure Plumbers guide to silencing those irritating noisy pipes.
1. Loose Fittings Causing Noisy Pipes
Sometimes, the most obvious answer is the right answer. Pipework allows for the movement of water around your home, which means something is being carried through them, resulting in pressure and friction.
If you hear clunking, rattling, or vibrating from your noisy water pipes, it could simply be that your pipes aren’t fitted correctly. It could be the case that they never were fitted properly, or they’ve come loose over time. Either way, they need to be fixed.
If you can access the pipework, because it’s exposed or you can take simple steps to reach it, then attempt to re-establish appropriate fitting by tightening bolts or replacing worn-out fixtures. In some circumstances, you will be unable to reach the pipework, or new fixtures will not solve the issue as the piping has to be re-routed. In these particular scenarios, we recommend professional help.
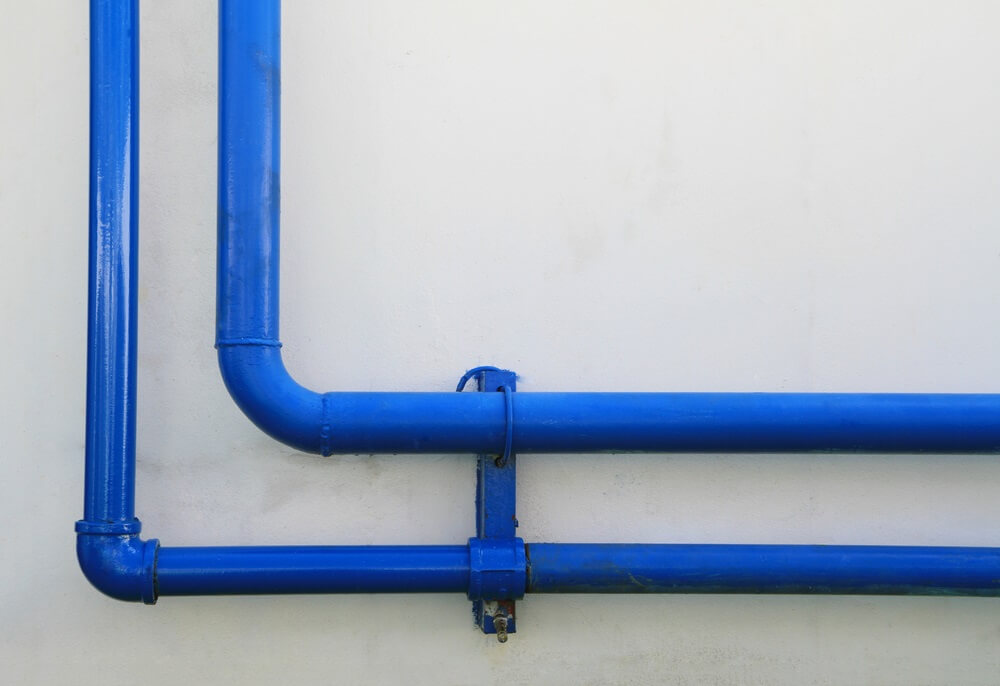
2. Copper Pipes
It is common practice for pipework in the home to be made from copper. It’s a durable, malleable metal that has replaced the use of lead and steel in the modern era. However, copper is known to expand and contract with temperature. The temperature of the hot water heater can influence the expansion of copper pipes.
If you are experiencing noisy pipes, but it only occurs after you use hot water, the culprit is likely expanding copper pipework. This occurs when the pipe rubs against joints, brackets and support structures, or other hidden elements of your home, as it expands with heat. This is not a problem to be concerned with at all, as the metal is designed to handle such stress. However, if it is becoming an annoying issue, there are some methods of noise management:
Any accessible pipework can be insulated with foam rubber to avoid friction against other surfaces
You can lower your hot water temperature to reduce the expansion of the metal
In extreme circumstances you can have a professional reach inaccessible areas, such as behind a drywall, to install insulation and cancel out the noise
3. Water Hammer
Thuds and bangs within your pipework are perhaps the most alarming type of noise you can hear. They also have the potential to result in damage. The cause is often what is known as a water hammer.
A water hammer occurs when protection systems start to fail. Air chambers are installed near taps to stop rushing water slamming into valves when taps are turned off. Over time, however, water starts to replace the air, reducing the stopping power of the air chambers and allowing the liquid to crash into the valves; making that thudding noise. To fix the issue, you need to replenish the air supplies of the chambers. Doing so will silence those noisy pipes. Additionally, installing water hammer arrestors can help mitigate the banging noise caused by water hammer.
How do you fix a water hammer?
Turn off your mains water supply
Turn on the taps on the top story of your home
Turn on the taps on the bottom story of your home
Allow all water to drain from your system
Once water has drained (no more water comes out of your taps) turn the water supply back on
Allow the water to flush out any air in the pipes by ensuring all taps remain on until water comes out of them
Turn off the taps
Your air chambers will now be replenished with the air required to absorb shocks and eliminating the thudding sound. If this does not work, we advise you request further help from a professional plumber to help with your noisy water pipes.
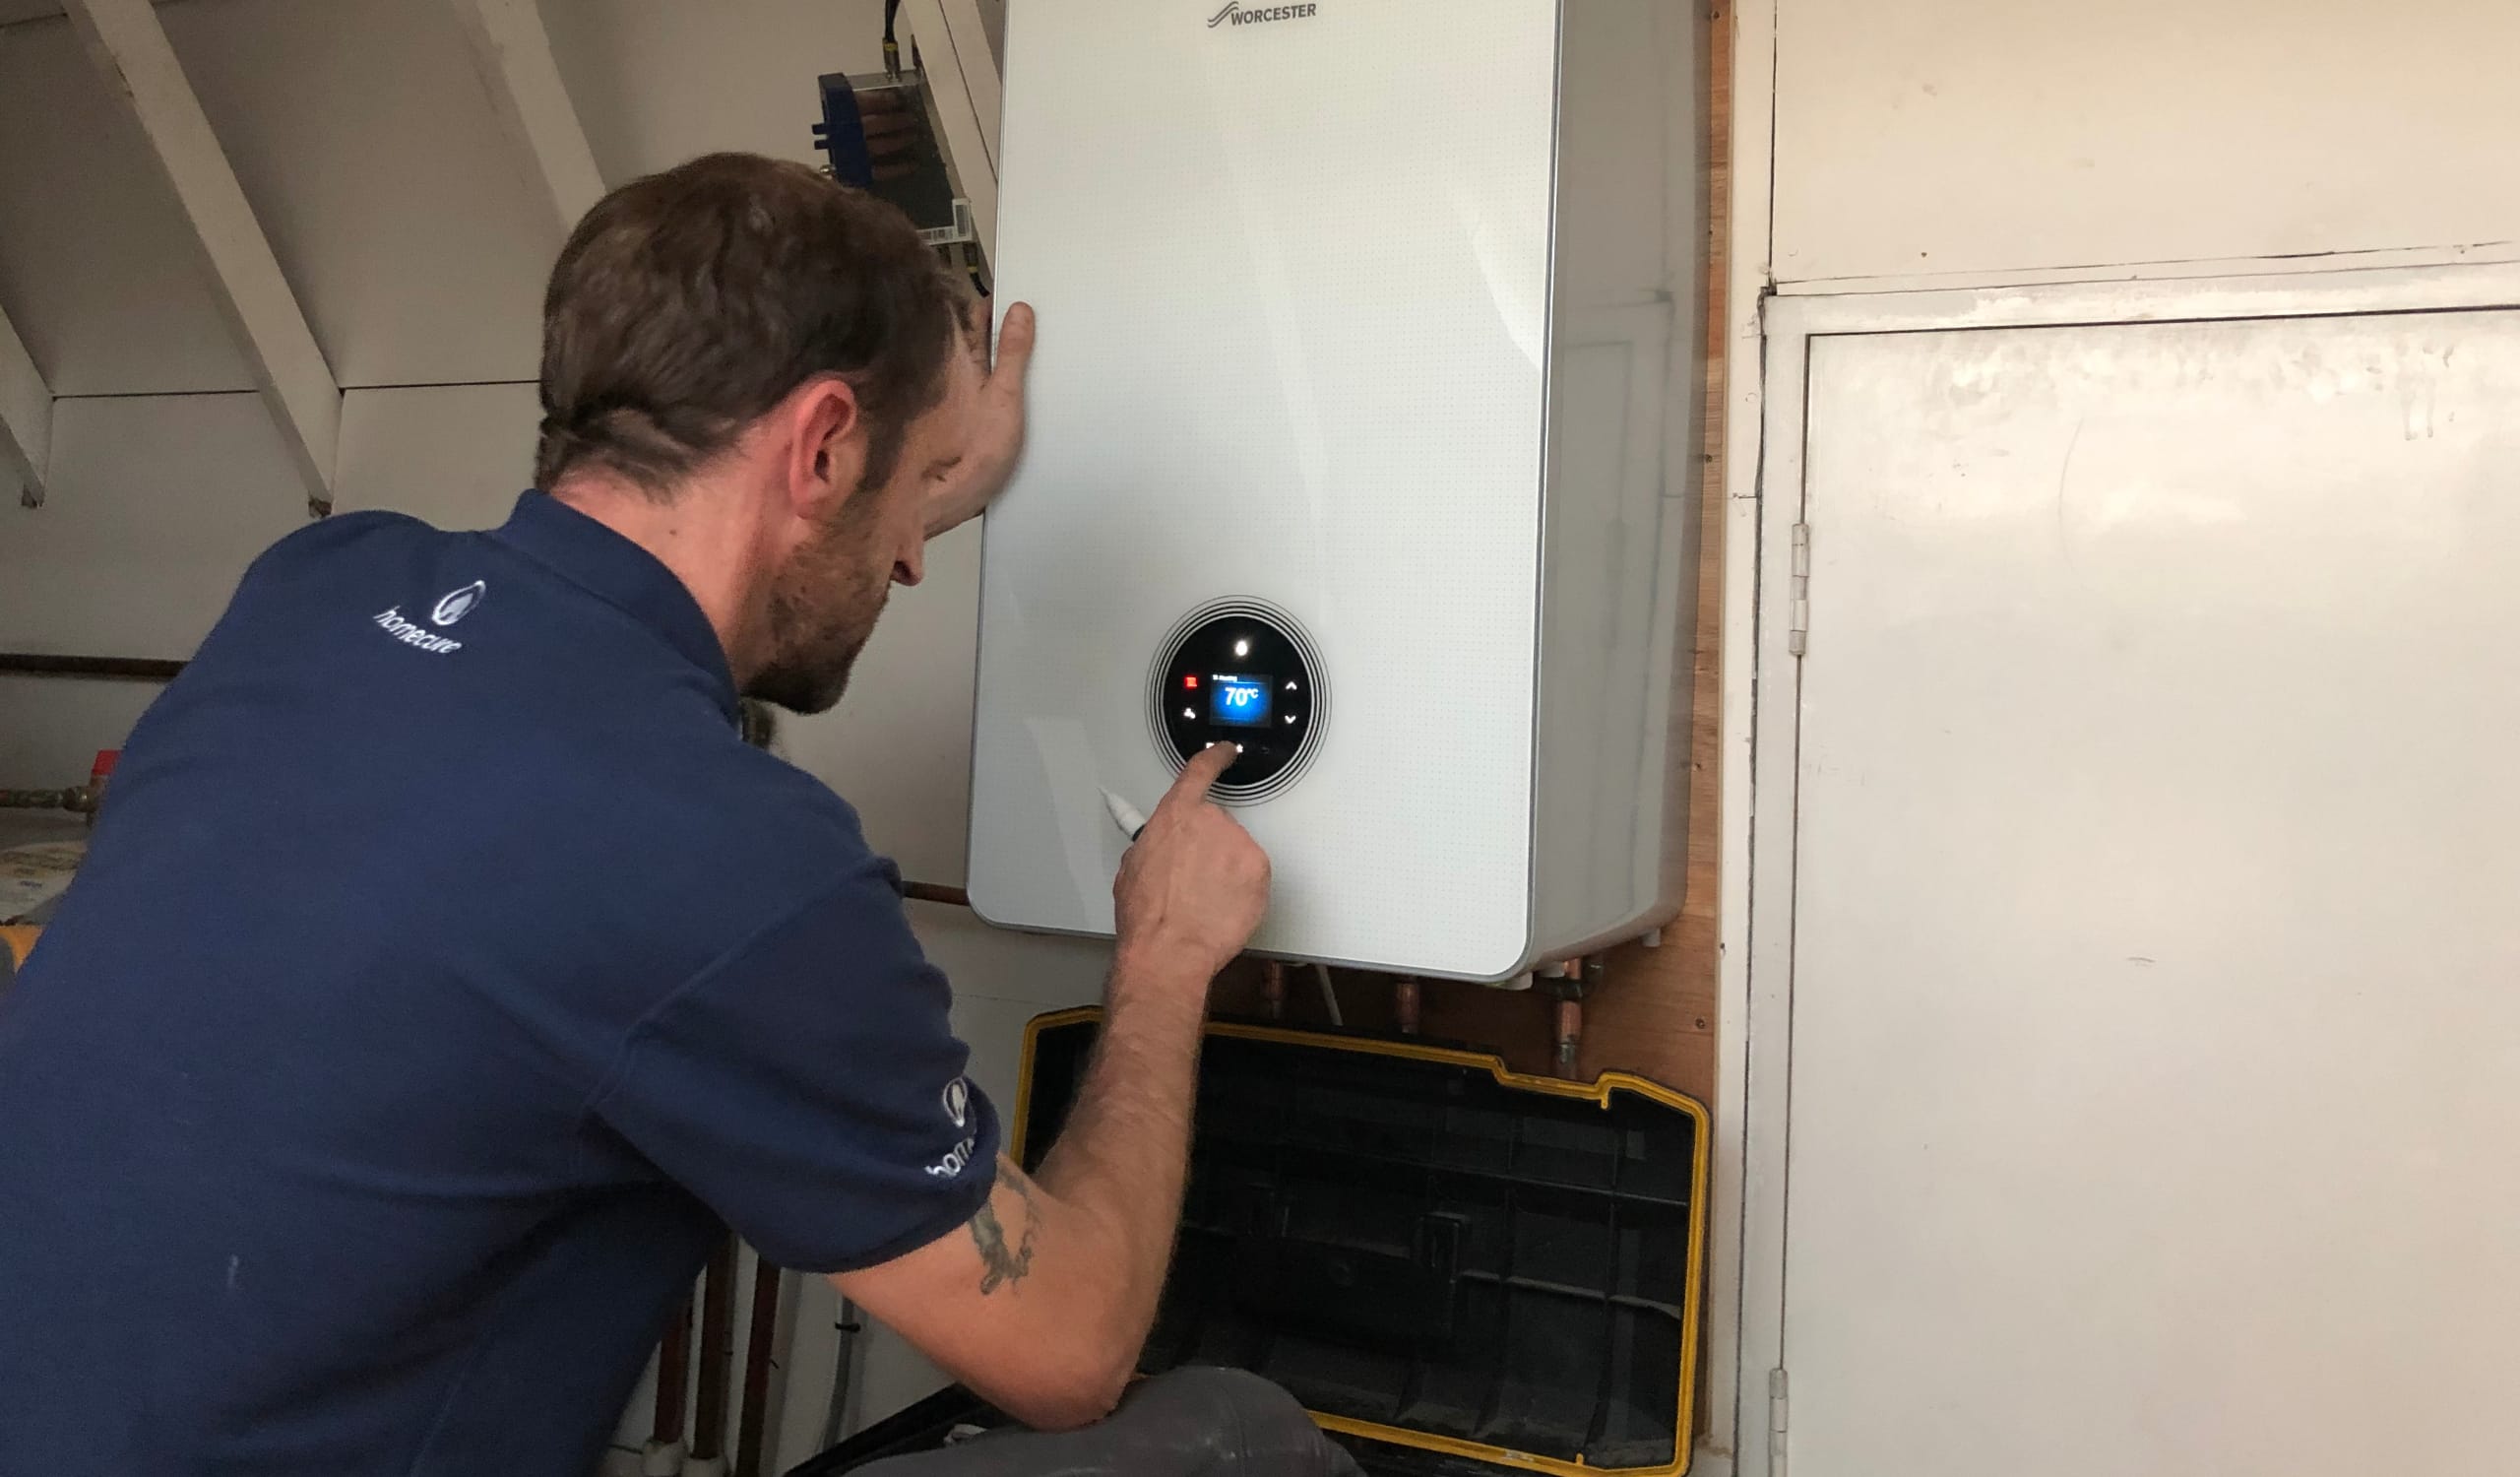
4. Water Pressure Causing Noisy Pipes
High water pressure is another cause of noisy pipes that can actually have serious consequences if not handled properly. However, it also has a very simple solution. Noise will occur if water pressure is too high, simply because it is being forced through pipework too quickly and is crashing around. A water pressure regulator can help maintain optimal water pressure and reduce noise.
Water pressure should be between 1 to 1.5 bar. Any higher and your pipes and appliances will be overworked and can become damaged. Most boilers have a pressure metre and regulator installed. Simply look at your boiler and find out what the pressure is. If it is too high, adjust the regulator (you may need to consult your boiler manual).
If you don’t have a meter and regulator, you’ll need to call in a plumber to check this for you. If you don’t have a meter and regulator, you’ll need to call in a plumber to check this for you. Our team at Homecure offers a range of services across all boiler brands, including boiler repairs for , Worcester, and Glow Worm. Modern homes should all have a boiler that meets this standard, however. If you lack such an appliance, we highly suggest you consider our boiler installation in London.
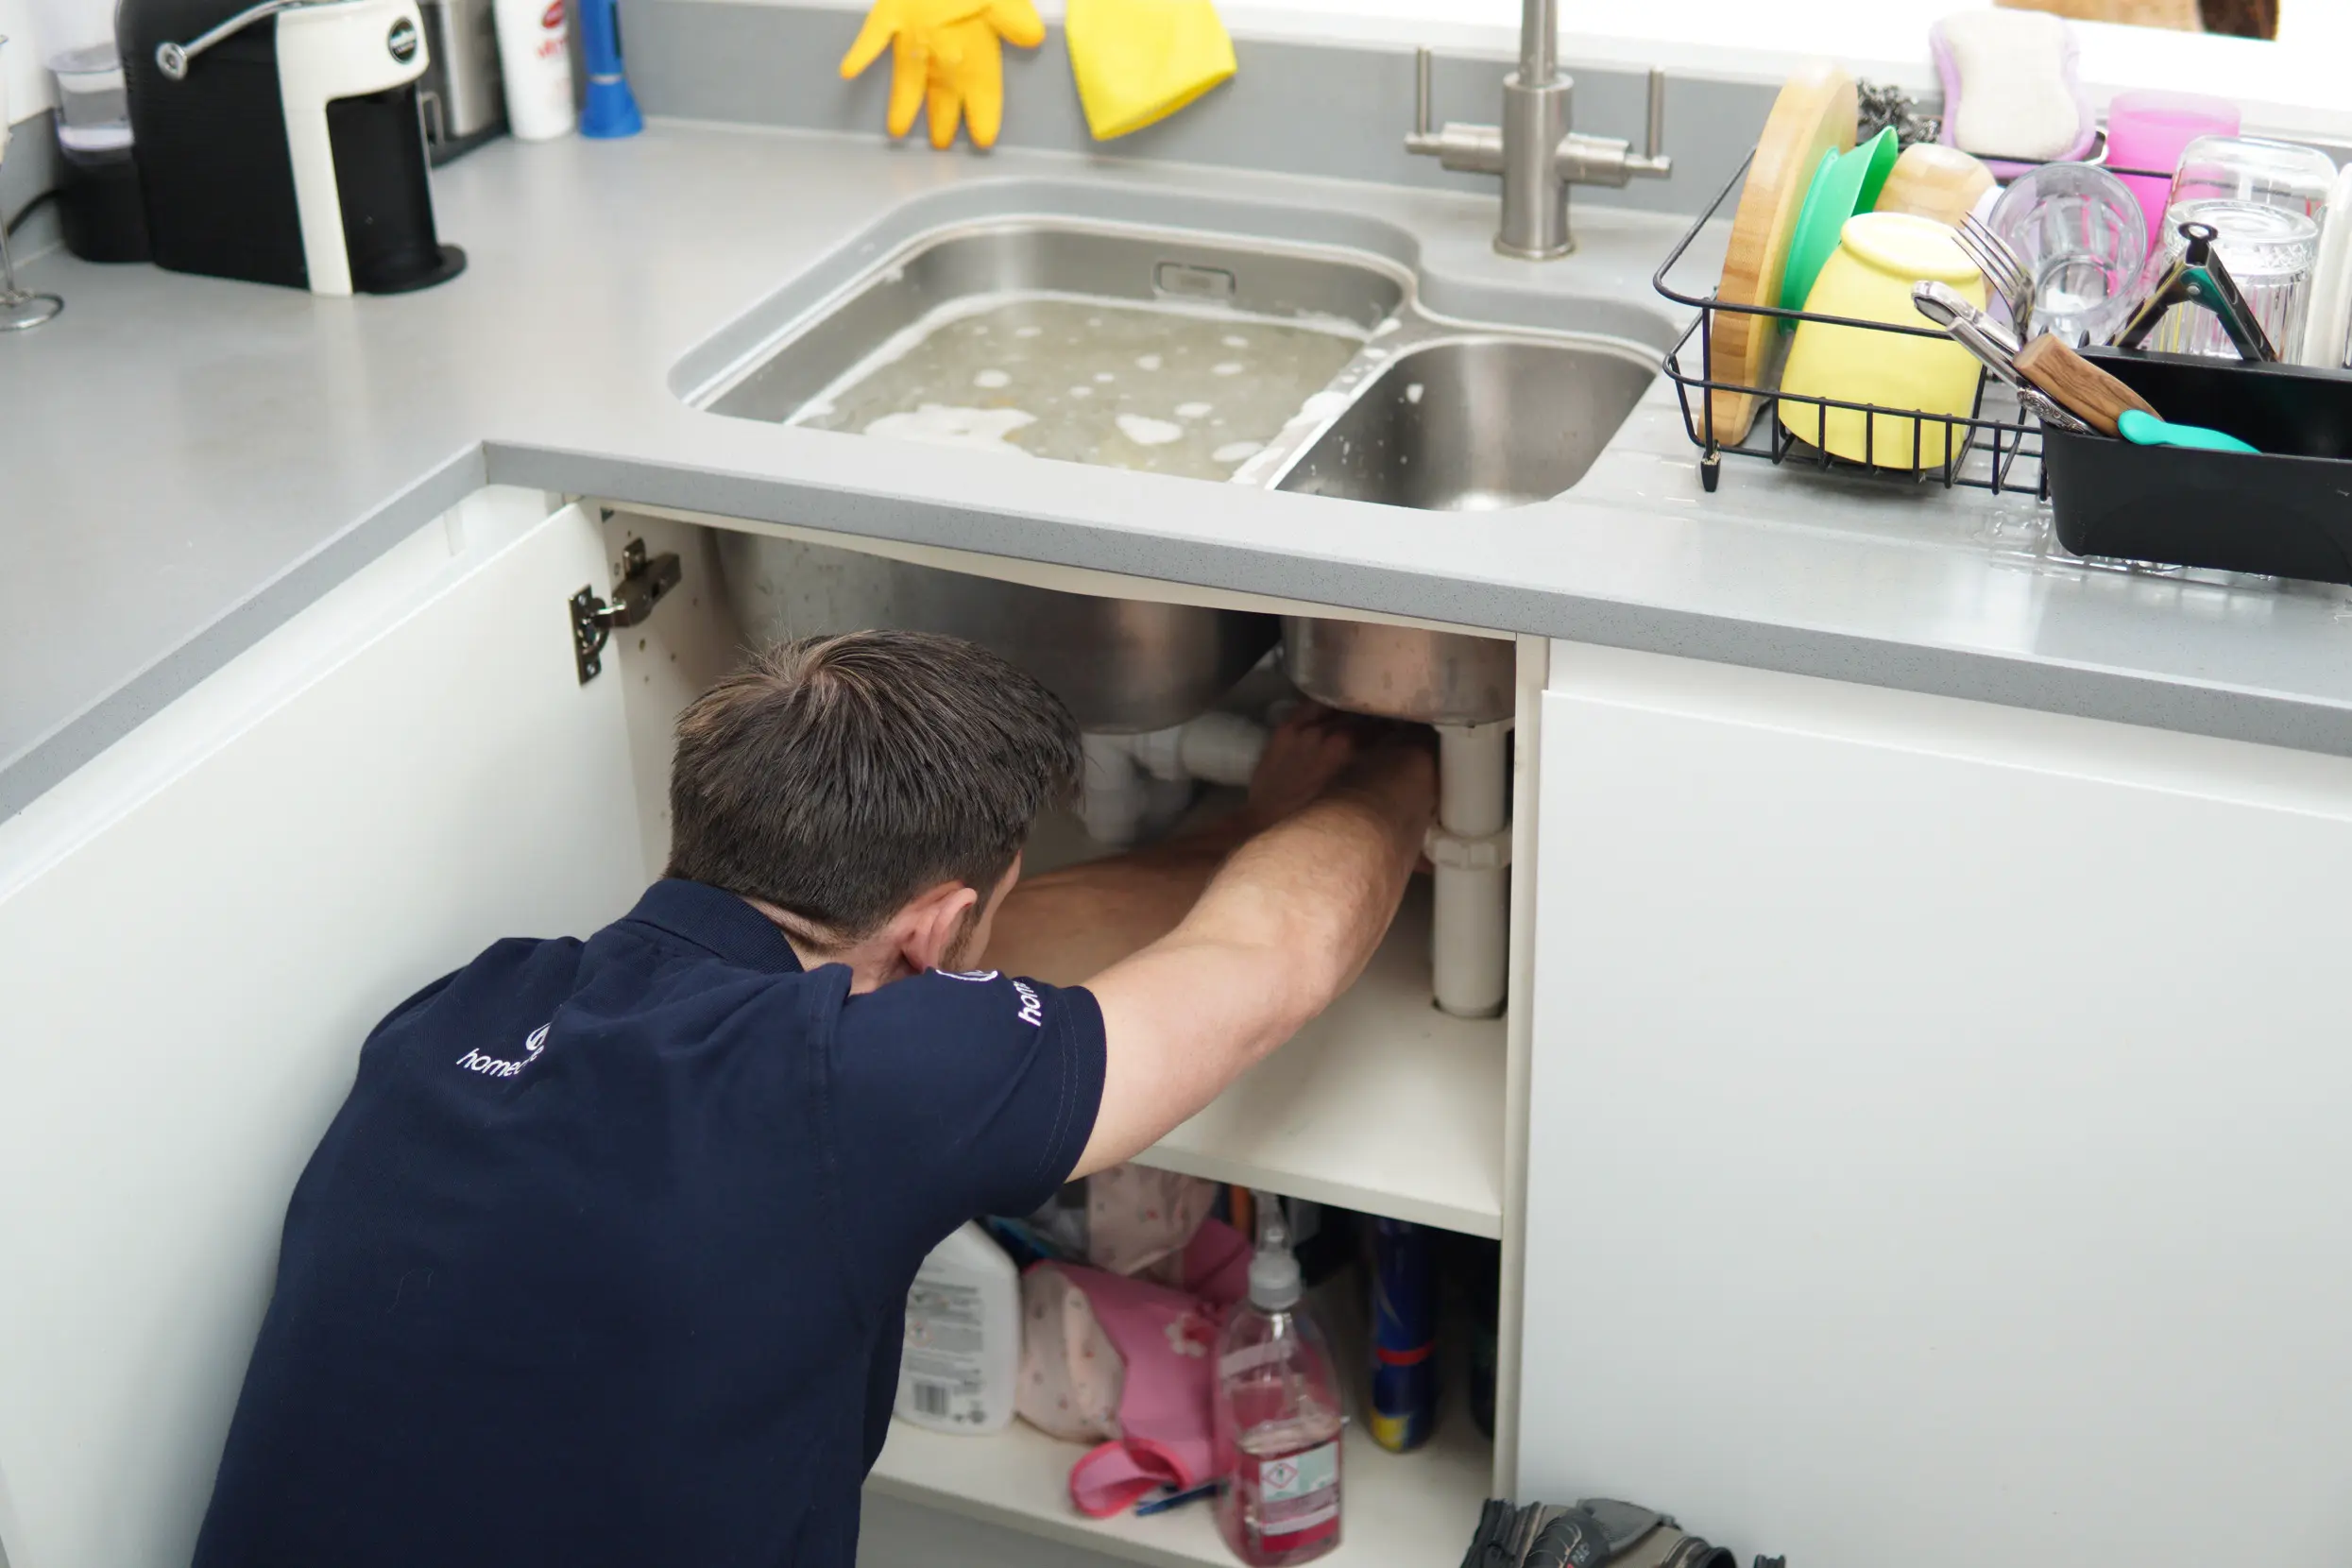
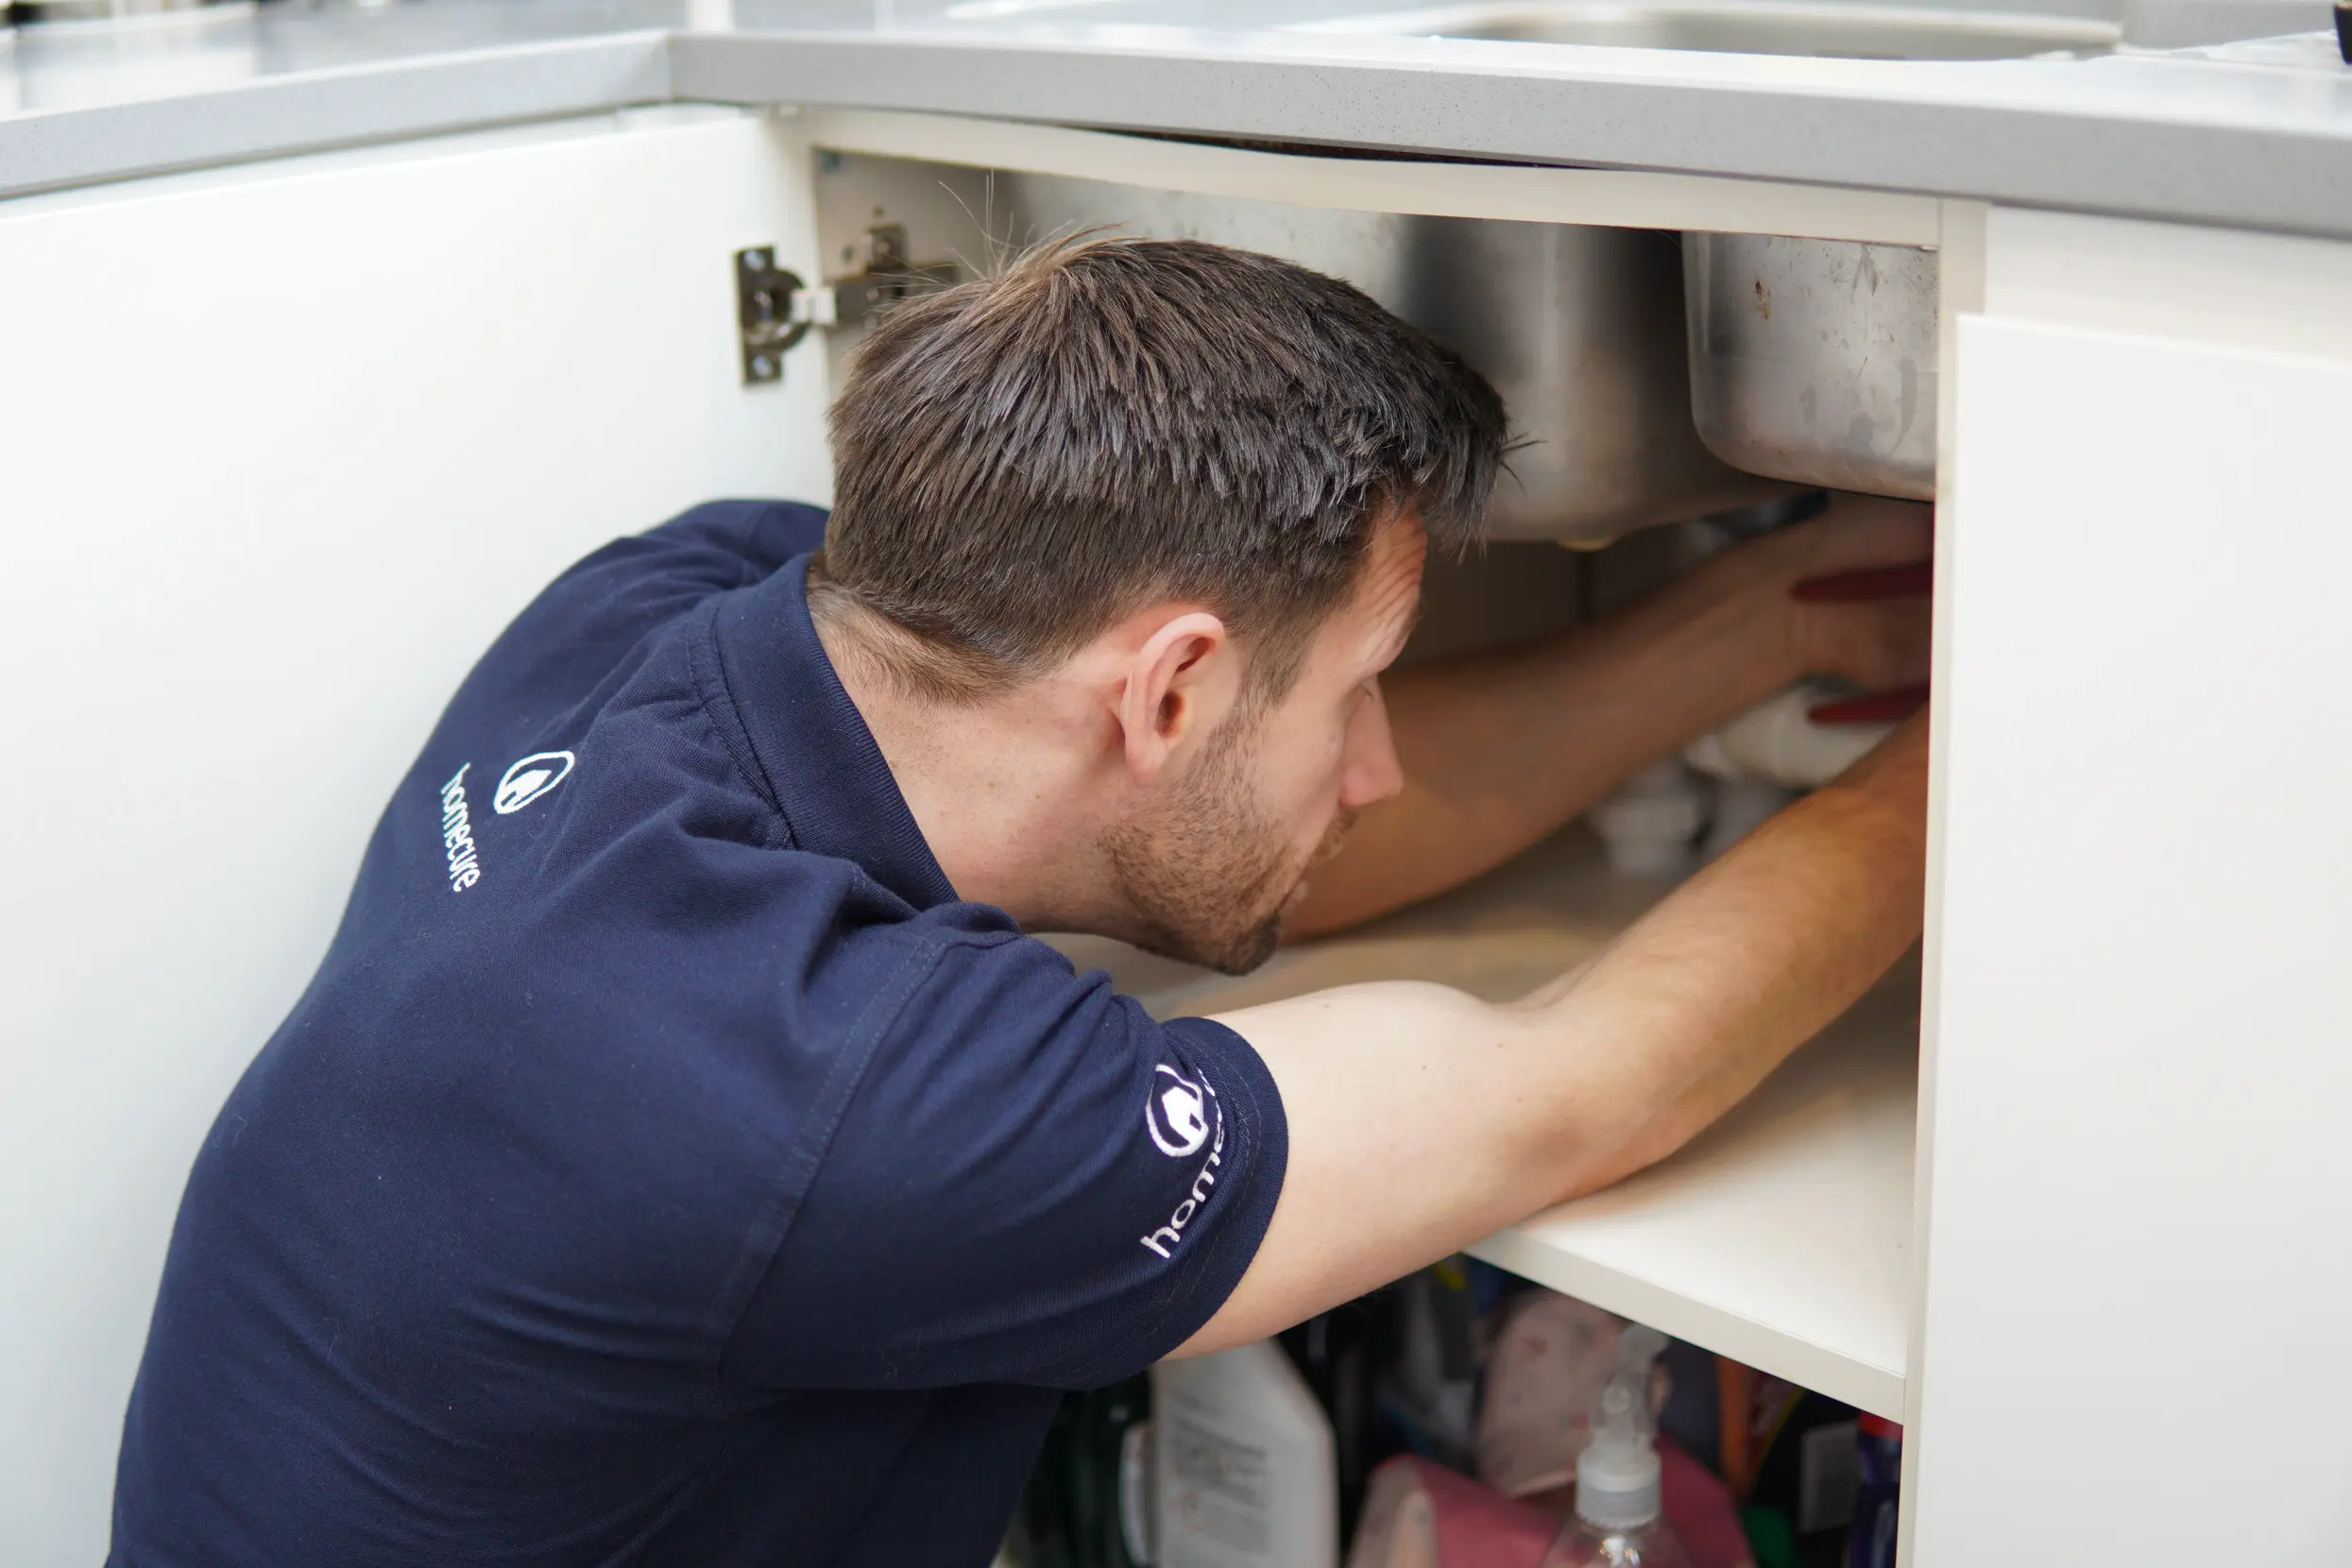
5. Blockages and Sludge Build Up
Over time, wear and tear occurs in pipework, especially in hard water areas. Central heating systems also create sludge that can circulate through your pipes. In both these cases, solid particulates will start circulating your system, causing noisy pipes. The sounds you’ll hear will likely be a clinking, rattling, or even a gurgling noise; imagine grit hitting the side of metal.
This is the only problem on this list that we suggest you as a homeowner do nothing about. Instead, call out a plumber to solve this issue for you. It is highly recommended you do not attempt to drain pipes yourself. Check out our service on boiler repairs in London in more detail.
Need assistance with noisy water pipes in your home? Contact the Homecure Plumbers team now to call out a plumber in North London or the Greater London area.
How to Unblock an Outside Drain in 6 Easy Steps
Has a blocked outside drain become clogged on your property? Discover how to unblock it yourself with some tips from our expert plumbers.
Blocked drains can be frustrating. They create backlogs of waste and often result in rather unpleasant smells. Usually, you’ll get blockages in the narrower pipes of your home, such as those in sinks or toilets. However, debris can build up within outside drains as well, leading them to become clogged.
This might seem like a nightmare scenario, but it may not be a total disaster. There are steps you can take to solve the problem and get your plumbing systems back in working order. Need to know how to unblock an outside drain? Our London drainage experts explain.
Step One: Assess the Problem
Access your outdoor drainage through whatever method you can. For most properties, this means removing the drain cover, which can help you identify any drain blockages. This may require a screwdriver, although this is rare. Once you have access, inspect the problem.
Is the blockage near the surface or is it out of sight?
Is it simply gunk or does it appear to be a tougher job?
If, after assessing the problem, you think you can manage the job yourself, move on to step two. If the drain blocked issue looks to be far more challenging than you anticipated, we recommend you avoid tackling the problem yourself and move to step six on this list.
You may also find you have clogged gutter pipes, which are easier to clean out, although it is still worth following these same steps.
Step Two: Obtain the Appropriate Tools for the Job, Including a Drain Rod
Removal of an outdoor drain blockage requires a few things. The most critical tool is a drainage rod. These items are long, thin, flexible and often made with steel joints. They enable you to push through the blockage in your drain, reaching deep into the external systems. A drain rod can be manipulated to tackle various types of blockages by feeding it into the drain and twisting it to break apart stubborn obstructions. Cheap and easy to find, don’t try to unblock an outside drain without one.
You’ll also want some protective clothing, as you’ll be digging around inside the drain. We recommend waterproofs — gloves and long-sleeves — as well as protective gear for your mouth and eyes if the blockage is near the surface. Splatter can contain nasty sewage bacteria, which you don’t want to come into contact with — as it may cause illness or infection.
For less severe blockages, chemical drain cleaners can be an effective alternative tool. You’ll also need a bucket and hose — ideally, a pressure hose if you have access to one.
Step Three: Remove Any Blockages You Can Reach
Can you get your arm in and take out some of the blockage, including food waste? If so, this is your best chance of shifting the matter clogging your drains and making it easier to use your drainage rods for simple debris removal.
It’s a horrible job, but it’s worth it.
Grab your bucket, place it by the drain and dig in. Remove every piece of blockage material you can. The more you remove, the easier the next steps become.
Step Four: Clear the Blockage
Using your drainage rods, attempt to flush out the blockage. Caustic soda can be an effective solution for stubborn blockages.
The narrow metal should slide through the sludge, though you may need to apply a bit of pressure. Move the rods around, breaking apart as much of the blockage as possible. This may take some time, especially if the buildup is quite large or stubborn, so be patient. Boiling water can also help dislodge the blockage. Keep plunging until it becomes easy to move the drainage rods — if you can see the blockage, it will start to drain and dissipate.
When using your drainage rods, be sure to twist clockwise. If you twist anti-clockwise, you may find the tough blockages actually result in the joints of your rods becoming unscrewed!
Step Five: Clean up the Extra Debris
Once you’ve removed the blockage and water is flowing through your outdoor drain again, it’s worth spending a bit of extra time making sure that the problem doesn’t come back. Using a hose — preferably a pressure hose — clear away any excess debris that has built up around the drain.
Lateral drains play a crucial role in the drainage system by funneling wastewater from homes into the street. The pressure from your hosepipe should dislodge the remaining elements of the blockage that you’ve loosened with your hands or drainage rod. The cleaner you can get your drains, the longer it will be until you need to do this again.
Step Six: How to Unlock a Blocked Outside Drain That Won’t Clear? Call in the Professionals
Outside drainage issues, including outdoor drain blockages, tend to be more complex problems than your usual sink blockage. While they are manageable through DIY techniques, these methods aren’t always effective. If they don’t work, we recommend you avoid attempting more extreme techniques. Damage to your external drainage may occur and you can make the problem worse.
When you can’t get past that stubborn blockage, call drainage experts such as our team at Homecure Plumbers. We have the expertise and tools to extract even the toughest drain blockage. A professional hand is often all it takes to get your plumbing back to normal.
If you’re left wondering how to unblock an outside drain, even after trying these tips, then it’s time to Has a blocked outside drain become clogged on your property? Discover how to unblock it yourself with some tips from our expert plumbers.
Our reviews
Request a call back
Please fill in your details below and a member of the team will be in touch. Alternatively, give us a call on 0203 504 4000.
 Reach us 24/7, 365 days